In this article, we will discuss how to perform CURD operation in React JS and consume ASP.Net Core Web API to fetch student’s data.
We will create step by step instructions to perform CURD operation in React JS.
We recommend please read previous article before starting ReactJS CRUD opteration.
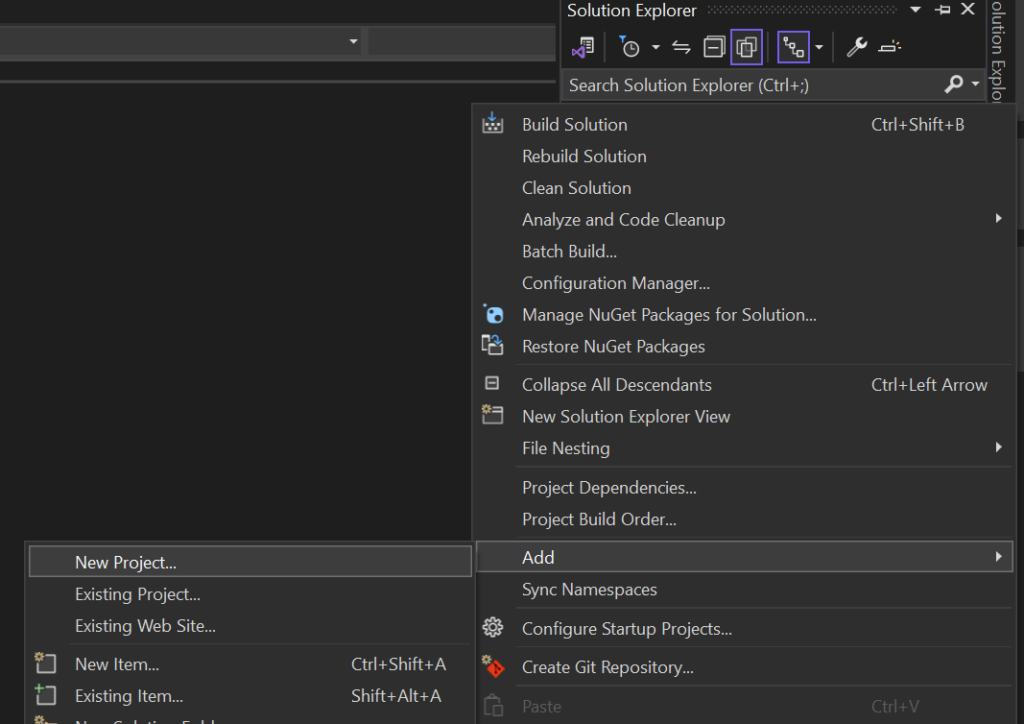
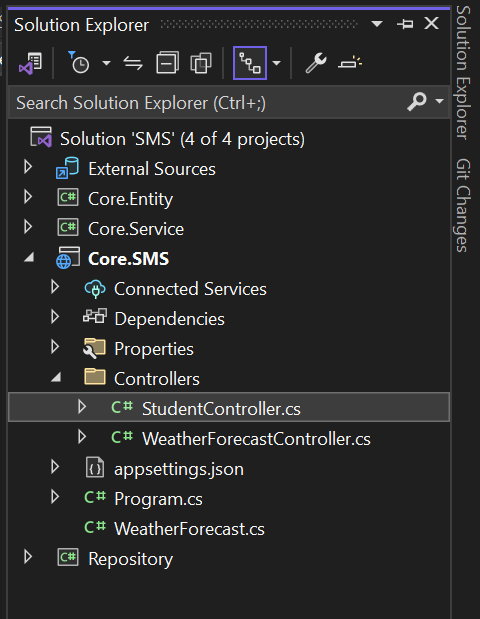
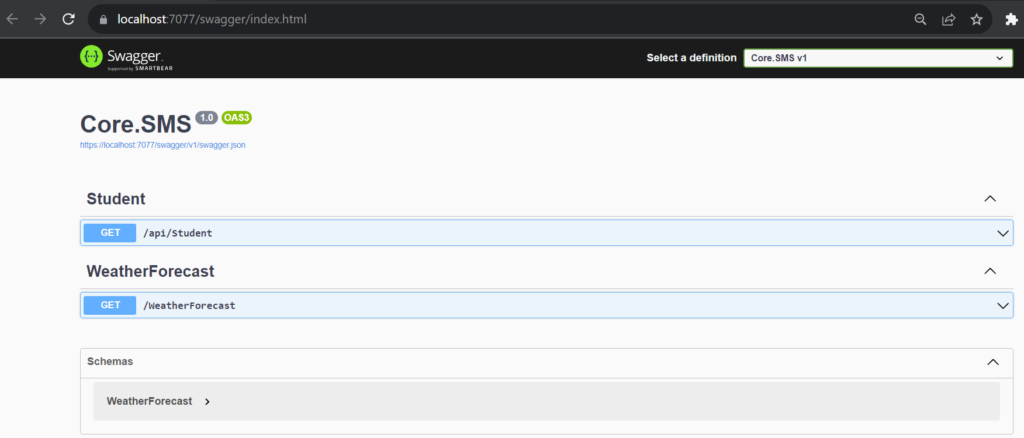
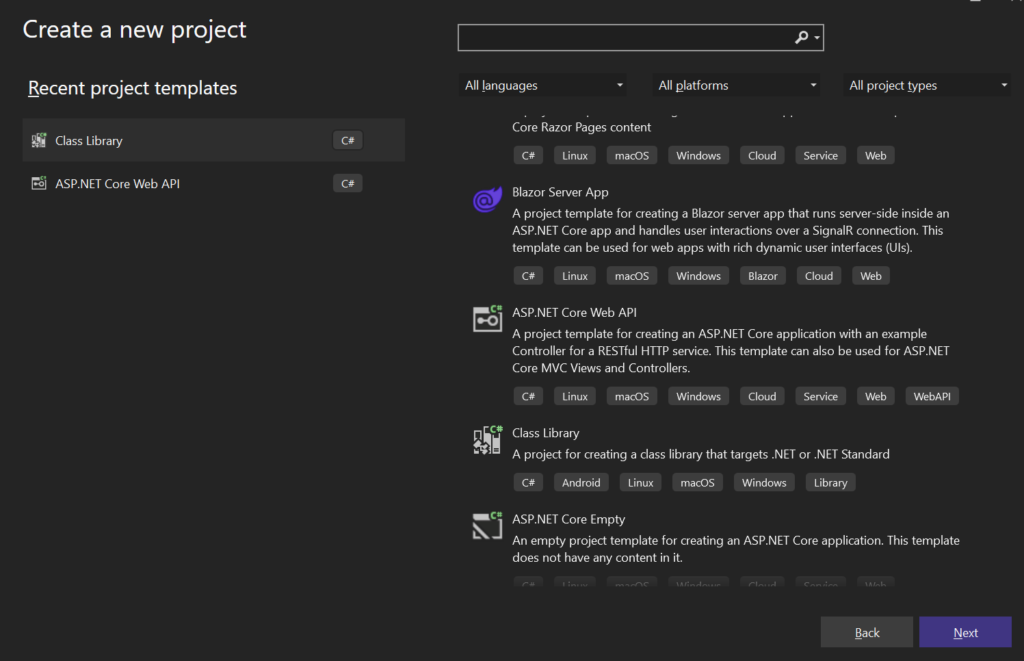
How to create ASP.NET Core Web Api
Prerequisite:
- Install Visual Studio Code
- Install Download | Node.js (nodejs.org)
Section we need to follow:
- Create React Application
Create React Application
Step 1: Open Terminal (Ctrl + ~).
Step 2: Select path where you want to create react application.
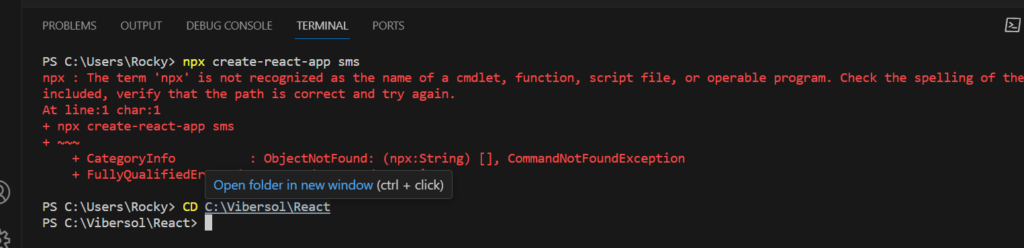
Step 3: PS C:\Vibersol\React> npx create-react-app sms
Step 4: If you are getting error while creating application like below:
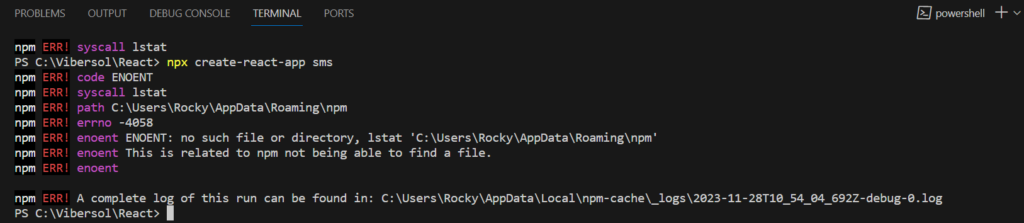
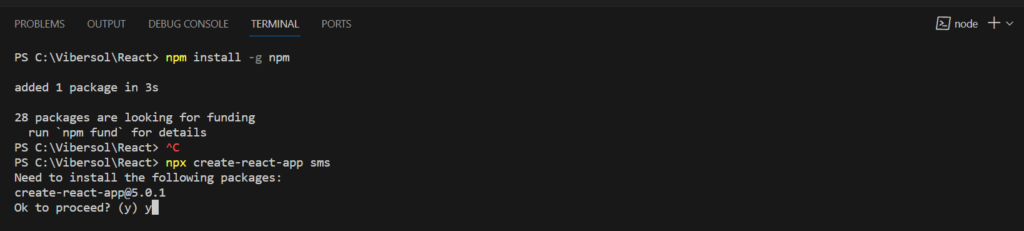
Solution :
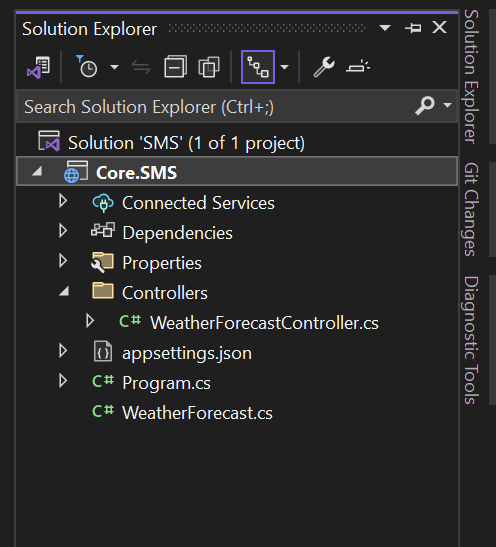
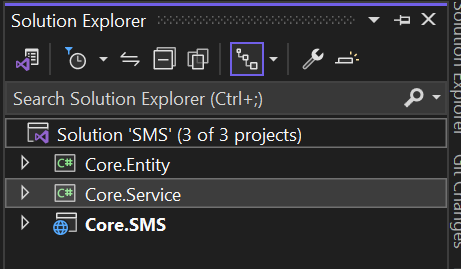
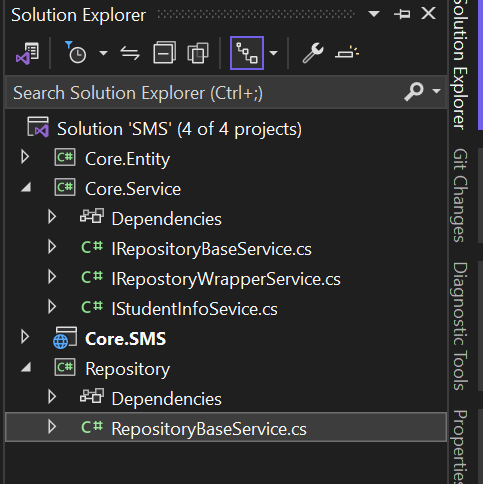
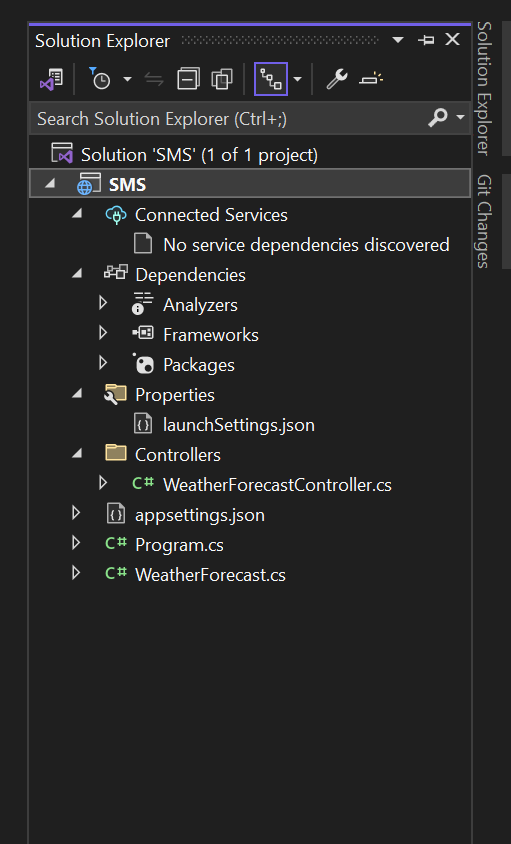
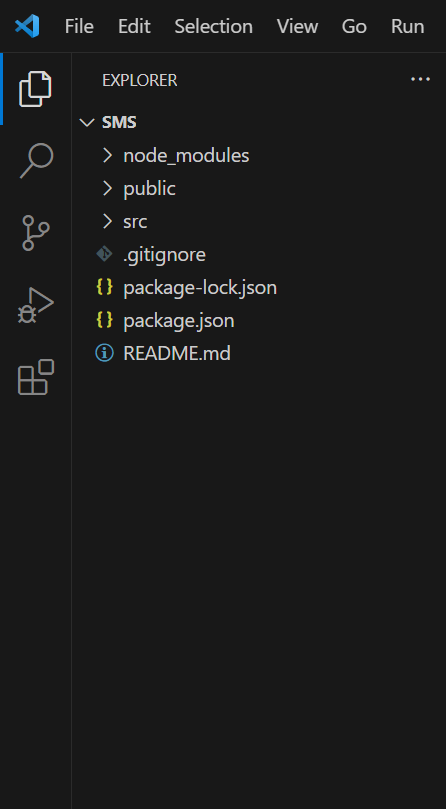
Step 5: Now the project structure look like below:
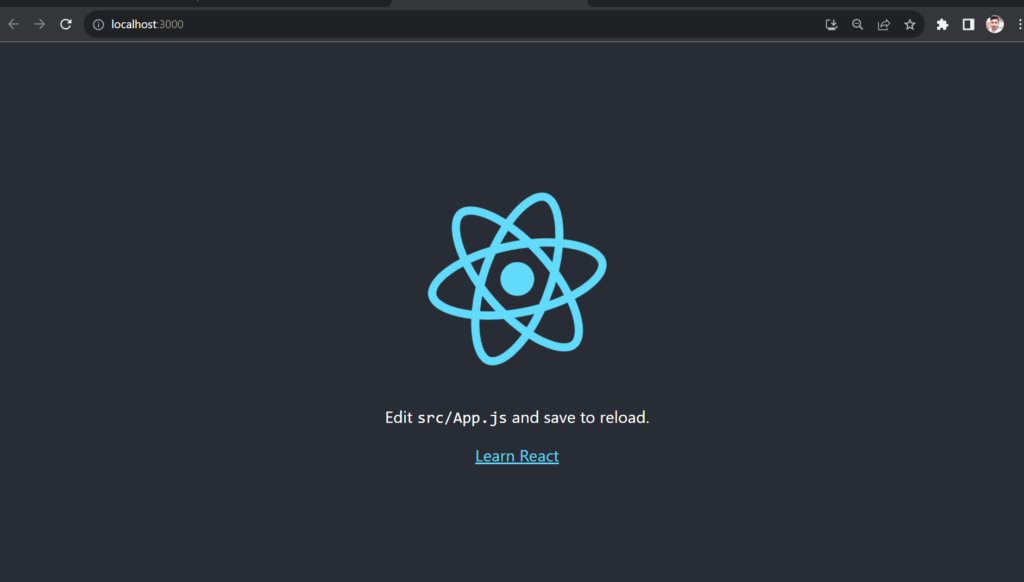
Step 6: Without any changes let see on the browser whether it is working or not.
PS C:\Vibersol\React\sms> npm start
Step 7 : Install Packages
- npm install react-bootstrap bootstrap
- npm install axios
- npm install react-toastify
- npm install semantic-ui-react semantic-ui-css
react-bootstrap installed for interface design, look and feel.
axios installed to communicate with the api. It provides more functionality and features that help you to build your application quickly.
react-toastify installed to notification in react application.
semantic-ui-react semantic-ui-css provides themes as CSS stylesheet.
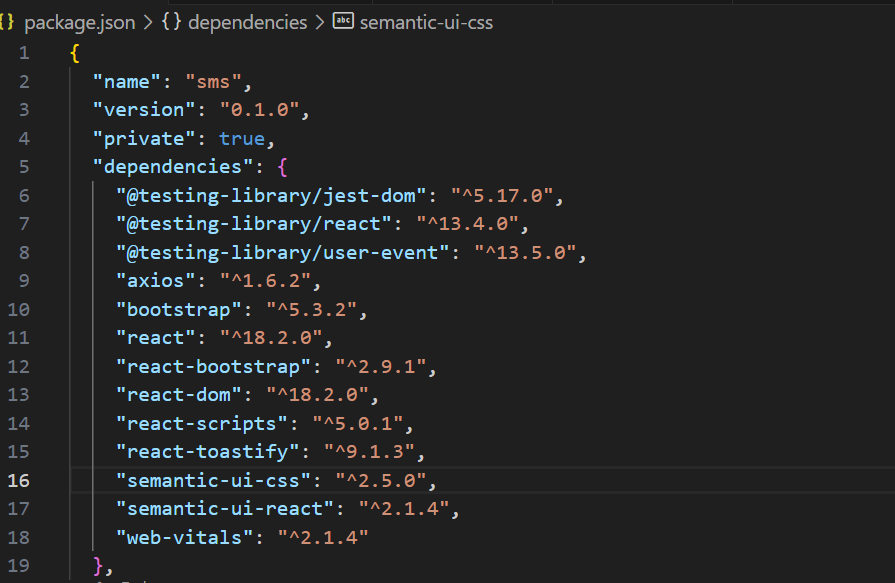
Any packages you have installed in react application is showing in package.json file
Step 8 : Create new “Component” folder
- src => Component
Step 9: Create new StudentList.js file inside the Component folder
- src => Component => StudentList.js
Step 10 : Display the employee details in StudentList.js
import {Table,Col,Row, Container} from 'react-bootstrap';
import 'bootstrap/dist/css/bootstrap.min.css';

function StudentList(props){
    return (
        <Container>
            <Row>
                <Col>
                    Id
                </Col>
                <Col>
                    Name
                </Col>
                <Col>
                    City
                </Col>
                <Col>
                    Qualification
                </Col>
                <Col>
                    Phone
                </Col>
            </Row>
            {
             //   props.students
               Array.isArray(JSON.parse(props.students))? JSON.parse(props.students).map((stu)=>(
                <Row key={stu.sId}>
                    <Col>{stu.sName}</Col>
                    <Col>{stu.sCity}</Col>
                    <Col>{stu.sQualification}</Col>
                    <Col>{stu.sEmail}</Col>
                    <Col>{stu.sPhone}</Col>
                </Row>
               )):null
            }


        </Container>
    )
}
export default StudentList;- props : Get all Student Information.
- Array.isArray : Check the information that hold in props is in array or not. If the information is in array then return true else return false.
- map() : map function iterate the props array and accessing individual record.
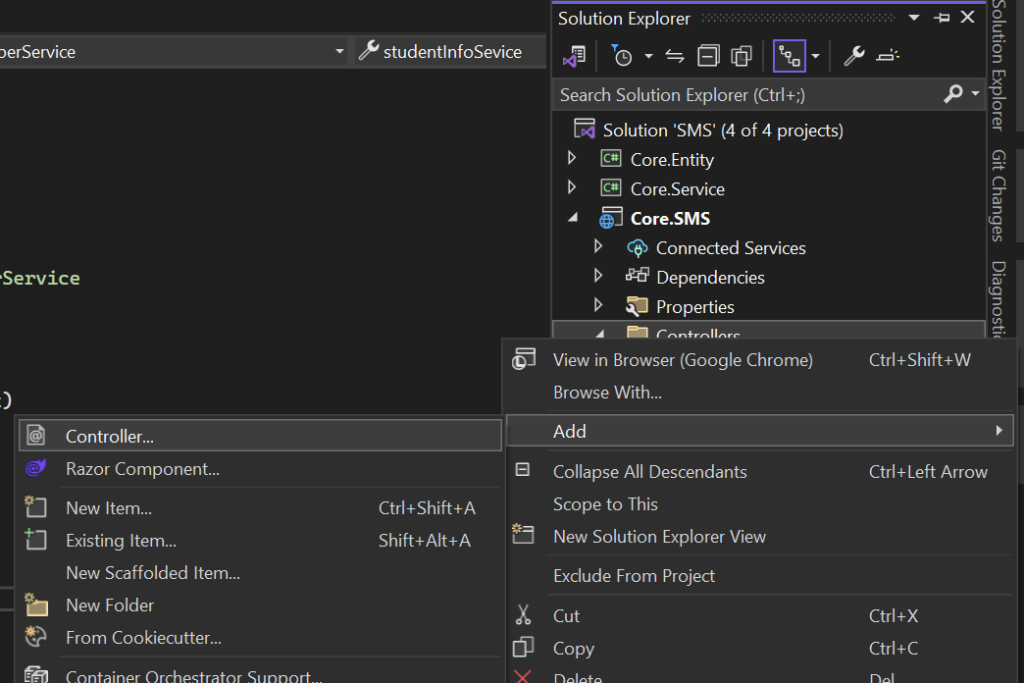
Step 11 : Call GetStudentInfos api which has been created in previous tutorial
import logo from './logo.svg';
import './App.css';
import StudentList from './Component/StudentList';
import { useEffect, useState } from 'react';
import axios from 'axios';
function App() {
const[Student,SetStudent] = useState([]);
useEffect(()=>{
let ignore = false;
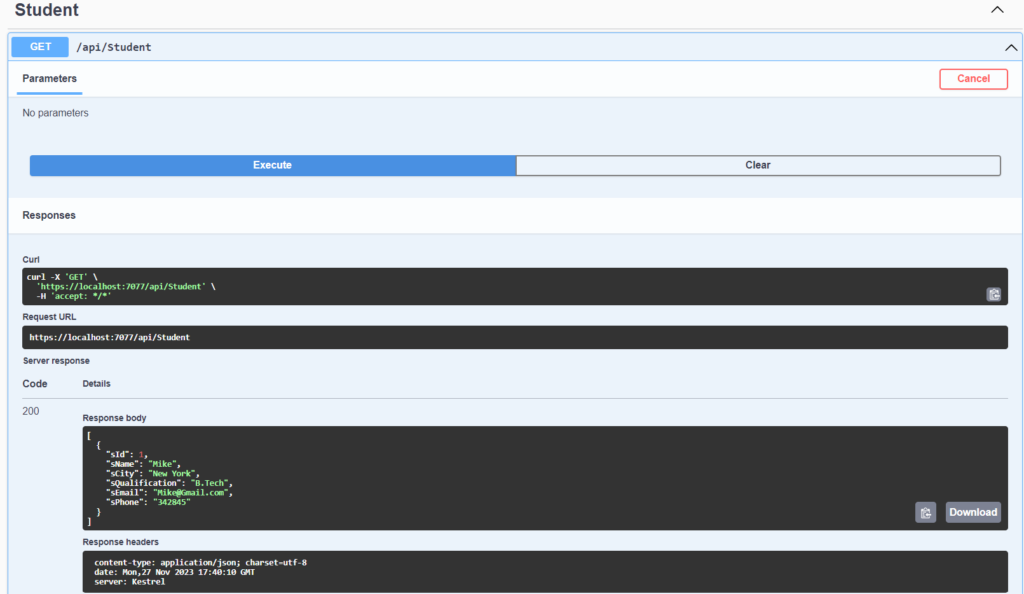
axios.get("https://localhost:7077/api/Student/GetStudentInfos").then((response)=>{
if(!ignore){
SetStudent(response.data);
}
})
return ()=>{ignore=true}
},[]);
return(
<StudentList students= {JSON.stringify(Student)} ></StudentList>
)
}
export default App;Here 2 hooks are using useEffect and useState
useEffect : React useEffect() hook is used to eliminate the side effects(out side of the scope of React) of using class based component. The task of useEffect hook is updating the DOM, fetching data from API, setting up subscription and timer etc.
Here you notice the useEffect() hook contains 2 arguments :
- First Argument return called effect, is either return a function or undefined. Effect is executed when the component is render depend on some condition.
- Second Argument is an array of dependencies. If you want to control the effect to execute when the component is render then pass the array of dependencies as a second argument. Here we have passed empty array that means we want effect to be executed only on first render.
useState : useState() hooks is the initial state that returns 2 values.
- First Value : Student, current state that initially hold blank array.
- Second Value : SetStudent, function that update current state.
For using both hooks need to import hooks from React
- import { useEffect, useState } from ‘react’
axios : Axios allows you to communicate with the API in your React application. Here, axios using to get Student Information from API.
Step 12 : After executing the react application the record will look like below:

Step 13 : We can also use Semantic React UI instead of Bootstrap. To use Semantic React UI need to change some existing code:
StudentList.js
import 'bootstrap/dist/css/bootstrap.min.css';
import { Fragment } from 'react';
import { Table } from "semantic-ui-react";


function StudentList(props){
    return (
        <Fragment>
            <h1 style={{marginLeft:"30px"}}>
                Student List
            </h1>
            <Table celled style={{
                marginLeft:"30px",
                marginTop:"30px",
                width:"1050px",
                border :"1px solid black"
            }}>
            <Table.Header>
                <Table.Row>
                    <Table.HeaderCell>Id</Table.HeaderCell>
                    <Table.HeaderCell>Name</Table.HeaderCell>
                    <Table.HeaderCell>City</Table.HeaderCell>
                    <Table.HeaderCell>Qualification</Table.HeaderCell>
                    <Table.HeaderCell>Email</Table.HeaderCell>
                    <Table.HeaderCell>Phone</Table.HeaderCell>
                </Table.Row>
            </Table.Header>
            <Table.Body>
                {
                    Array.isArray(JSON.parse(props.students))? JSON.parse(props.students).map((stu)=>(
                        <Table.Row key={stu.sId}>
                            <Table.Cell>{stu.sId}</Table.Cell>
                            <Table.Cell>{stu.sName}</Table.Cell>
                            <Table.Cell>{stu.sCity}</Table.Cell>
                            <Table.Cell>{stu.sQualification}</Table.Cell>
                            <Table.Cell>{stu.sEmail}</Table.Cell>
                            <Table.Cell>{stu.sPhone}</Table.Cell>
                        </Table.Row>
                    )):null
                }
            </Table.Body>
        </Table>
        </Fragment>
    )
}
export default StudentList;
GridDisplay.js
import StudentList from './StudentList';
import {Grid} from 'semantic-ui-react';

function GridDisplay(props){
    return(
        <Grid>
            <Grid.Column width="10">
            <StudentList students={props.students}></StudentList>
            </Grid.Column>
        </Grid>
    );
}
export default GridDisplay;
App.js
import logo from './logo.svg';
import './App.css';
import GridDisplay from './Component/GridDisplay';
import { useEffect, useState } from 'react';
import axios from 'axios';

function App() {
  const[Student,SetStudent] = useState([]);

  useEffect(()=>{
    let ignore = false;
    axios.get("https://localhost:7077/api/Student/GetStudentInfos").then((response)=>{
      if(!ignore){
        SetStudent(response.data);
      }
    })
    return ()=>{ignore=true}
  },[]);

  return(
    <GridDisplay students= {JSON.stringify(Student)} ></GridDisplay>
  )
}
export default App;
After executing application the result look like below:

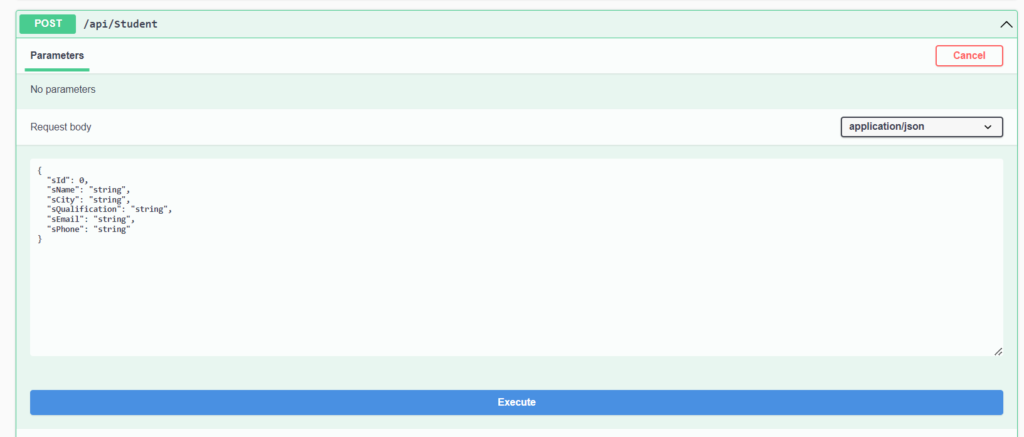
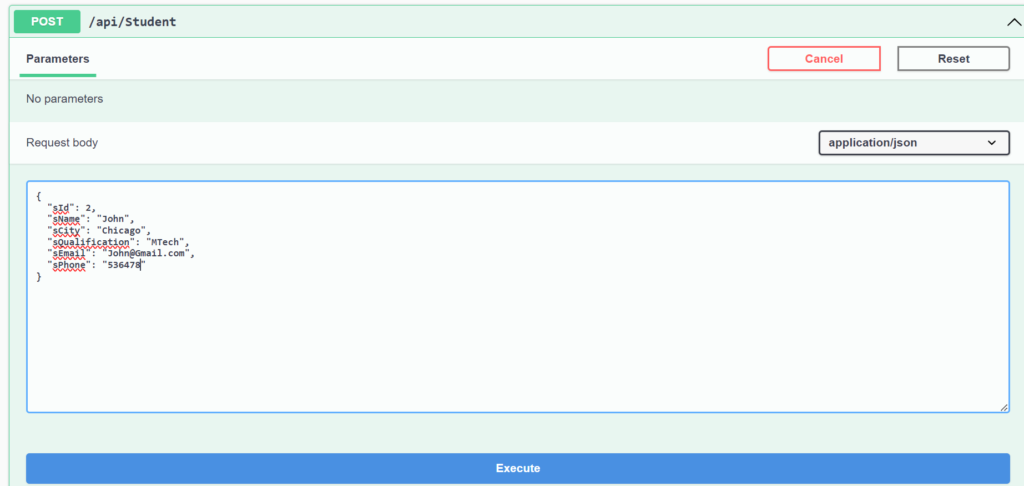
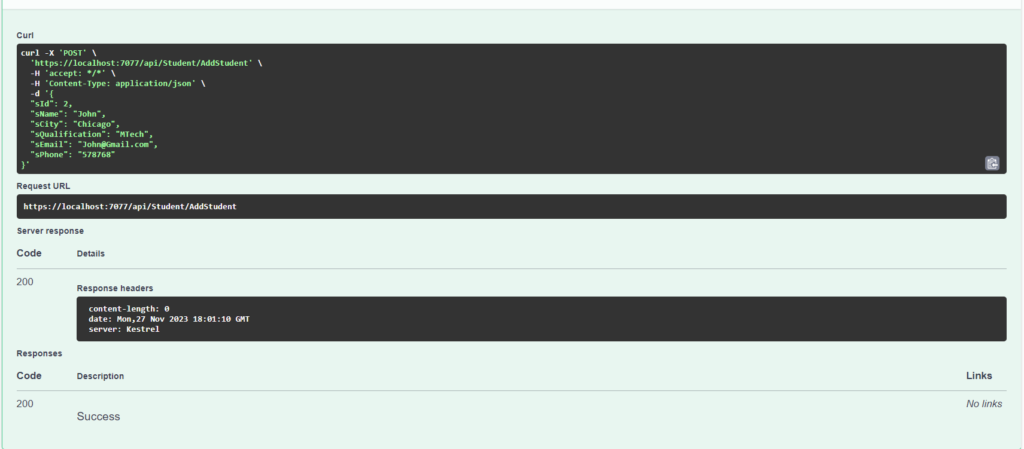
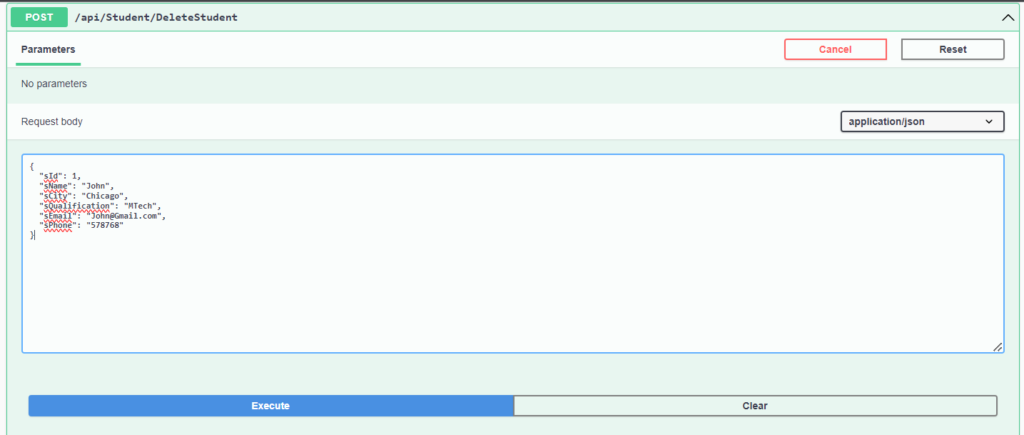
Step 14 : Add student’s record using interface. To insert details of student we required the form where user can submit the student details. After submitting the form request AddStudent api will call, before creating form we also require Add button where user click on the add button then Add Student form will be open.